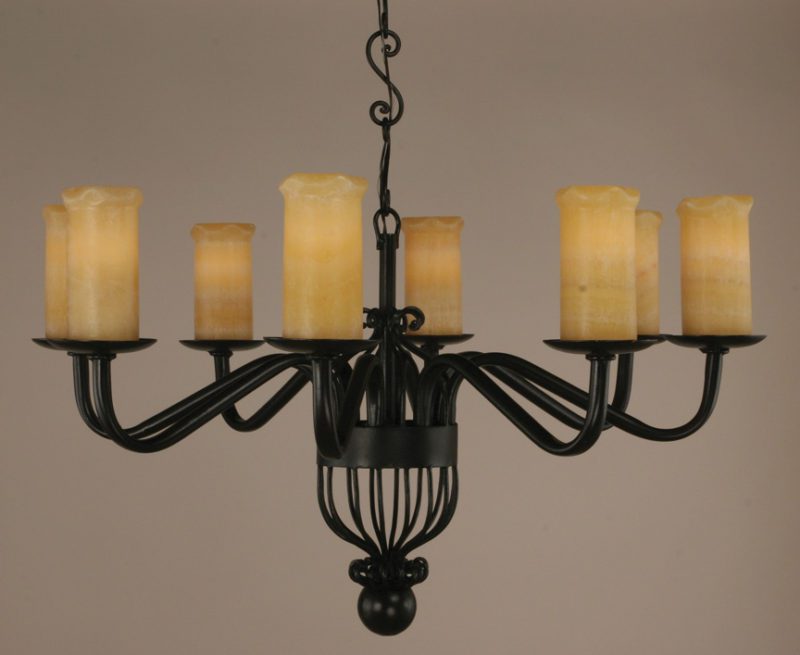
Once you purchase your new wrought iron chandelier, you need to decide who will install it. Consider your skills and determine if you will take on the installation yourself or if you would feel better having a professional do it? For information on how to install a large wrought iron chandelier, read below.
You will need several parts and tools to install a chandelier. Of course, you need the chandelier and all the parts that come with it. You will also need a step ladder, a metal outlet box, wire nuts, a small wood strip, an expandable bracket (typically used for ceiling fans), a circuit tester, and a small bracket with bolts attached. The tools needed are pliers, an adjustable wrench, wire cutters, wire strippers, a putty knife, a drywall saw, a carpenter’s pencil, a power drill, drill bits, a flat-head screwdriver, and a Phillips screwdriver.
For the metal outlet box, select a box used for ceiling fans; a standard ceiling outlet box will support a fixture weighing less than 30 pounds. A metal box for ceiling fans will support a fixture of up to 60 pounds.
Step 1: Turn Off the Power
Whenever you work on a do-it-yourself electrical project, turn off the circuit breaker before beginning. After you’ve turned off the circuit breaker and the light switch, use your circuit tester to verify that no power is being channeled to the circuits.
Step 2: Remove Existing Lighting Fixtures
Before you can install your new wrought iron chandelier, you’ll need to remove any existing lighting fixtures in the desired location. This involves exposing the electric box by removing the canopy and disconnecting wires. Remember, if your new chandelier is more than 30 pounds, change the box out for a 60 pound box.
Step 3: New Electrical Box Installation
For this, the first thing you need to do is use your carpenter’s pencil to draw a circle in the exact location where you plan to install the wrought iron chandelier. Use the drywall saw and cut out the circle. Next, install the electrical box using the expandable and small brackets.
Step 4: Wiring
This step involves connecting the wires. You’ll need to thread them through the electrical box. Then separate the wires and remove about a half inch of the insulation with the wire strippers. After this is done, the wires can be connected.
Step 5: Hole Patching
Now you need to patch the hole where your old fixture was. Take a wood strip that is wider than the hole, put it inside the ceiling or wall to cover the hole, glue it down, and then cover it with a sheetrock patch.
Additional Tips:
Make sure that your new chandelier fits the scale of the room nicely. You can adjust the chandelier’s level to help it fit the room better.
Don’t forget that, after installation, chandeliers require regular maintenance. You will need chandelier cleaner to care for your light fixture properly. Before cleaning your wrought iron chandelier, turn the power off using the wall switch. Cover the bulbs with baggies secured with rubber bands; this protects the fixture from cleaning solution running down into the electric parts of your chandelier.
Spray down the entire chandelier with the cleaner and let it drip dry if it’s not too dirty, or wipe the entire thing down with a clean cloth. Microfiber towels work very well for this. Once the light fixture is dry, remove the baggies, spray some cleaner on a clean cloth, and wipe down each bulb. Ensure the entire wrought iron chandelier is completely dry before turning it back on. Simply dust the chandelier lamp shades.
Safety is always the most important part of any project, especially when electricity is involved. If you are uncomfortable with any portion of this project, look into a professional electrician.